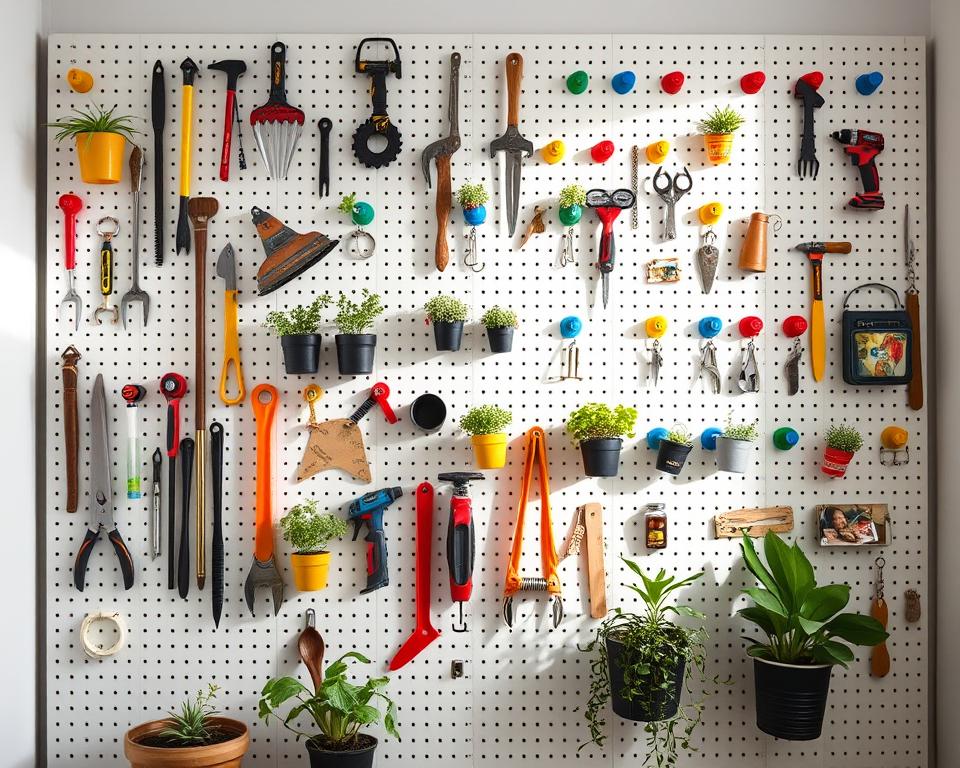
Did you know a 4-by-8-foot pegboard can hold up to 100 pounds? This is a big deal for anyone wanting to use their space better. Pegboards are great for keeping your area tidy, whether you love DIY projects, have a lot of kids, or run a small business.
In this guide, we’ll show you how to make your own wall hooks and pegboard. You’ll learn about picking the right materials and tools. Plus, how to make your storage fit your needs perfectly. Say hello to a clutter-free and more organized workspace.
Essential Materials and Tools for Your Pegboard Project
Creating an efficient storage system with diy wall hooks and pegboards requires the right materials and tools. Pegboard panels come in different sizes, from 1/8-inch to 1/4-inch thickness. The thickness you choose depends on the weight and size of the items you’ll hang.
Basic Hardware Requirements
To start, you’ll need some basic hardware:
- Pegboard panels
- Washers
- Screws
- Spacers (if needed)
These items help you mount your pegboard securely to the wall. They make a strong tool organization system.
Choosing the Right Pegboard Type
There are two main types of pegboard:
- 1/8-inch thick with 3/16-inch holes, good for lighter items
- 1/4-inch thick with 1/4-inch holes, better for heavier tools
You can also find pegboards made of plastic or metal. This depends on your specific needs and preferences.
Required Tools for Installation
To install your pegboard, you’ll need:
- Drill
- Stud finder
- Screwdriver
These tools ensure your pegboard is securely attached to the wall. This makes for a stable and organized storage space for your tools.
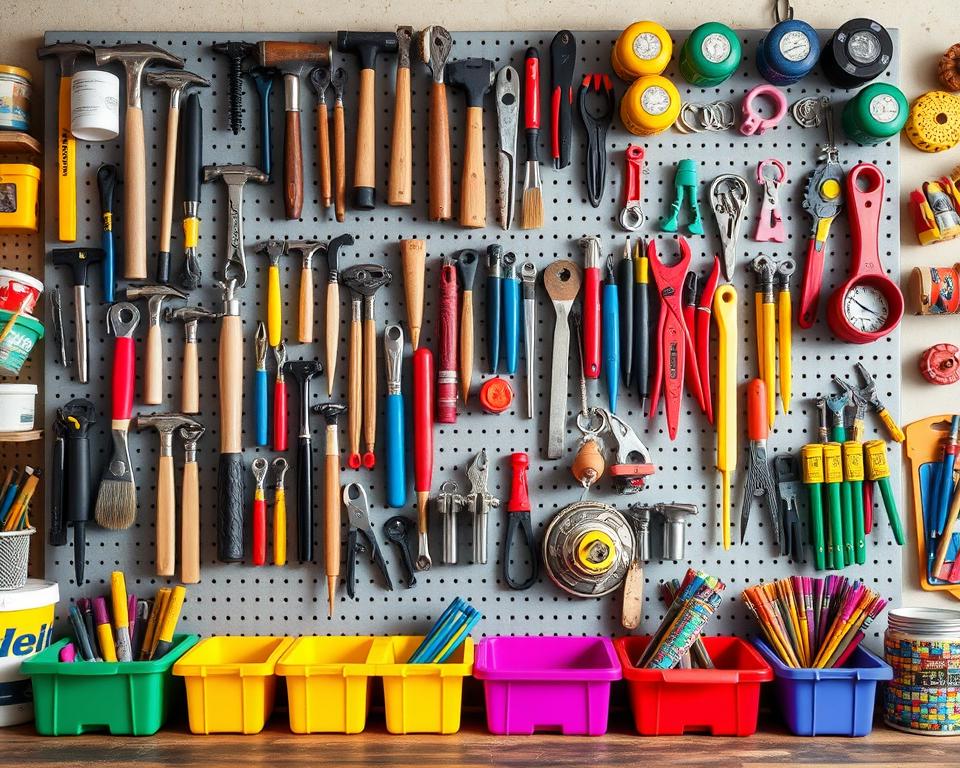
“Organizing your tools and equipment with a well-designed pegboard system can drastically improve the efficiency of your workspace.”
With the right materials and tools, you can make a pegboard storage solution that fits your needs. It will also help you organize your tools better.
DIY Wall Hooks and Pegboards: A Complete Guide
Creating the perfect storage for your craft room or workspace is easy with DIY pegboards. You can make a system that keeps your craft room essentials tidy and adds your personal style.
Planning is key for a great pegboard project. First, pick the best spot for your pegboard. It should be easy to reach and in a good location. Then, use a stud finder to find the wall studs for support.
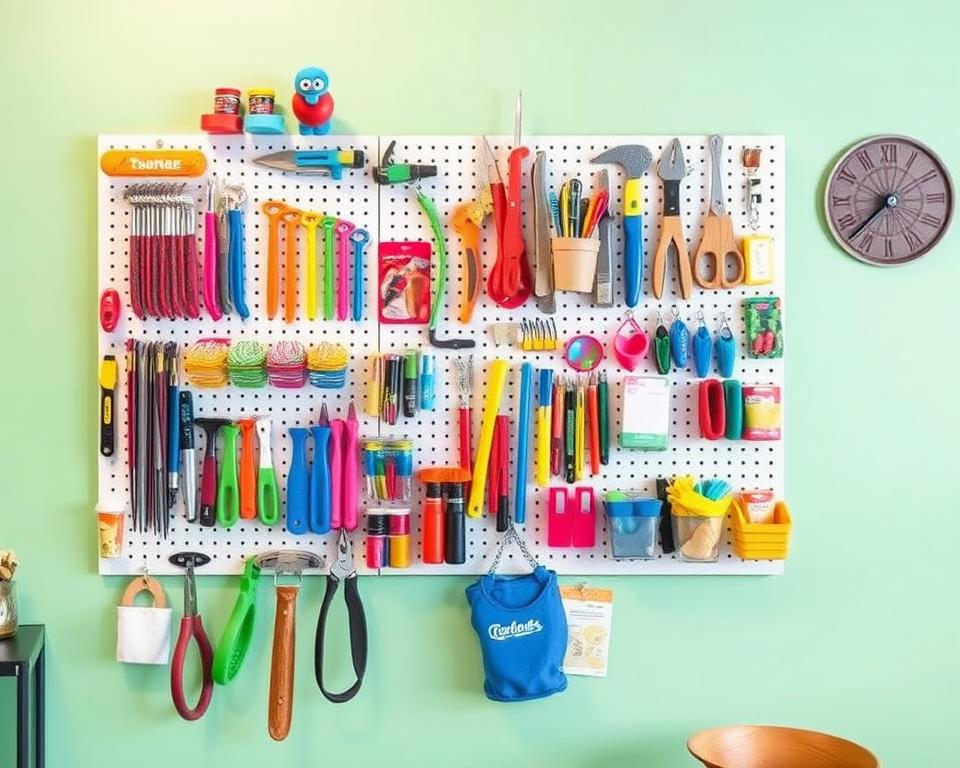
Next, decide on the spacing for your pegboard. Add spacers or a frame to evenly distribute weight. This prevents sagging or damage. Mount the pegboard securely to the wall for a sturdy setup.
- ¾” dowels were used for the project
- Grid lines for pegboard were marked at 3″ intervals
- Pegs were spaced 6″ apart
- Dowels were cut into 3 ½” pieces
- Two shelves were made, one 7″ wide and the other 20″ wide
- Picture hanging hooks were added to the back of the organizer
- Project was completed in one day
DIY diy pegboards are flexible. You can change the hooks, shelves, and accessories as your needs change. This makes your storage solution adaptable and keeps your space organized.
“Pegboards are versatile and can be used in various spaces due to their ability to hold different items.”
With this guide, you can make a personalized pegboard system. It will improve your space’s functionality and show off your DIY skills. Enjoy making your craft room or office a tidy and beautiful place with diy pegboards.
Installation Tips and Mounting Techniques
Setting up a garage storage system with diy wall hooks and pegboards needs careful installation. First, find and mark the wall studs with a stud finder. This makes sure heavy items are securely mounted. Then, leave at least a 1/2-inch space behind the pegboard using spacers or a frame.
For bigger panels, add screws every 2 feet along the board. To mount the pegboard, use washer-head screws that grip the studs or drywall anchors. For very heavy items, screw the hooks directly into the studs. This makes the hold stronger and more reliable.
With the right methods, you can turn your garage into a tidy, garage storage ideas paradise.
Finding and Marking Wall Studs
- Use a stud finder to find the wall studs behind the drywall.
- Mark the stud locations with a pencil or marker.
- Make sure the pegboard is mounted right over the studs for the best support.
Creating Proper Spacing Behind the Board
- Use 1/2-inch spacers or a 1×2 or 1×3 inch frame to create a gap between the pegboard and the wall.
- This gap lets you mount deeper hooks and accessories without hitting the wall.
- For big pegboards, add extra support screws every 24 inches along the frame.
Secure Mounting Methods
After spacing the pegboard right, use these methods to mount it securely:
- Attach the pegboard to the wall using washer-head screws driven into the wall studs.
- For drywall without studs, use heavy-duty drywall anchors and screws.
- For extra-heavy items, consider screwing the hooks directly into the wall studs instead of the pegboard.
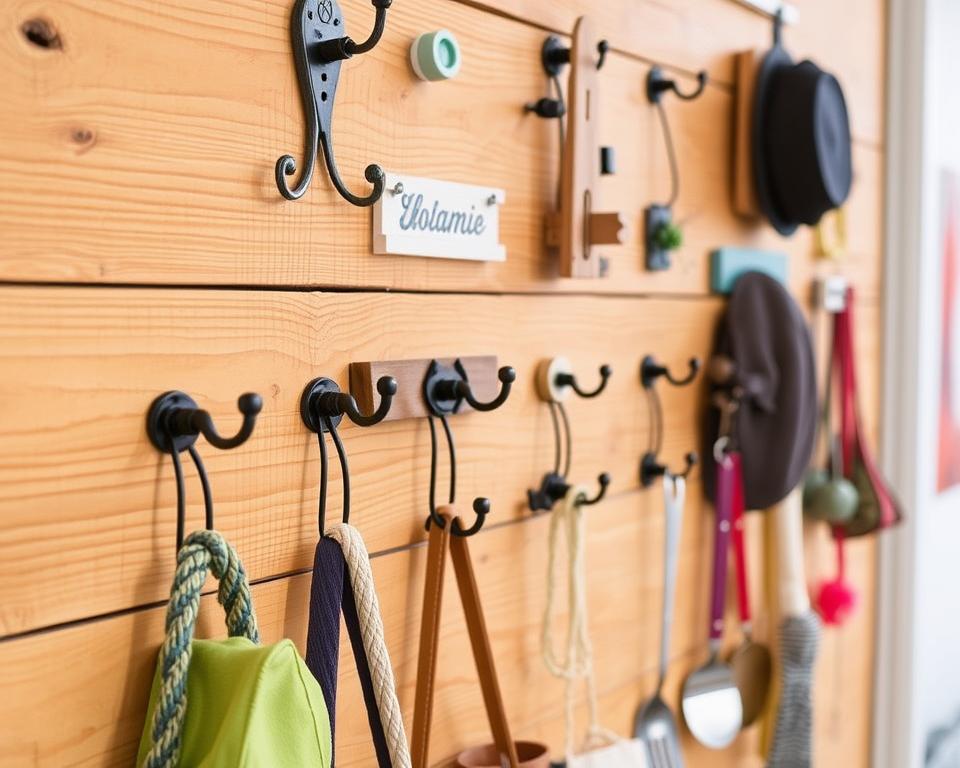
By following these garage storage ideas for proper installation, you can make a sturdy, customizable storage system. This will keep your garage organized and easy to access.
Customizing Your Pegboard Storage System
Pegboards are great for organizing because they can be customized. You can make them fit your style or increase storage. There are many ways to make your pegboard your own.
Painting your pegboard is a popular choice. Start with a primer, then use glossy or semi-glossy paint for easy cleaning. Use light coats to avoid blocking the holes. Adding a decorative frame around the edges can give it a finished look.
Building custom shelving is another option. You can drill holes in wooden shelves to fit over L-hooks. Or, use cable staples to attach plywood shelves to the pegboard brackets. This way, you can create customizable shelving that meets your organization solutions needs.
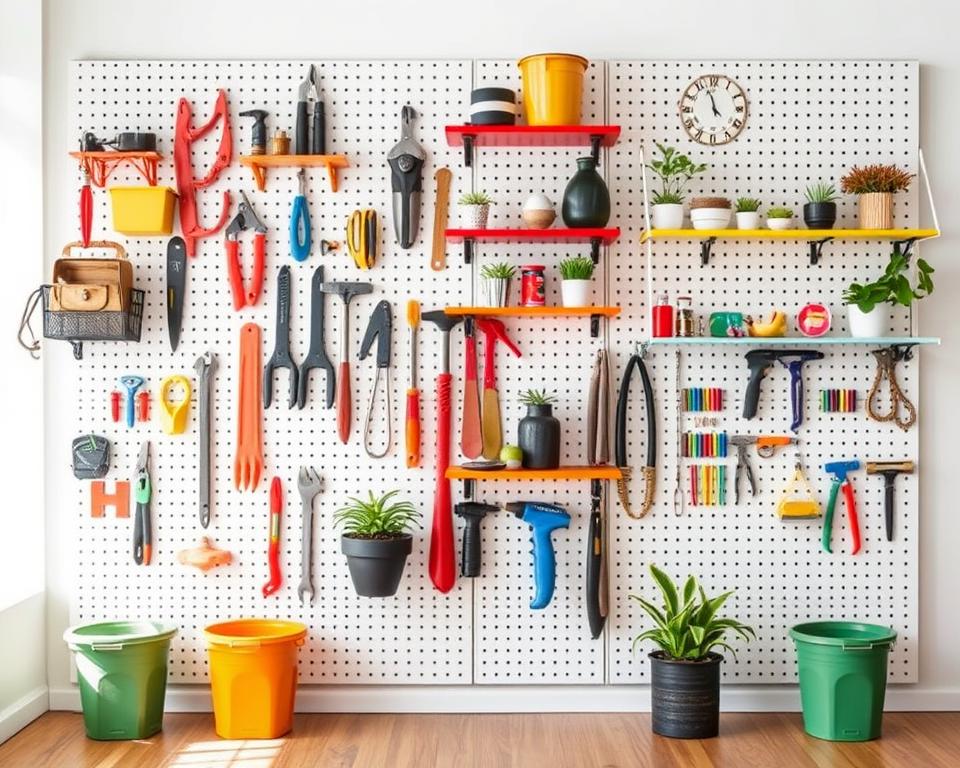
“Pegboards are incredibly versatile and can be used to organize everything from craft supplies to tools and kitchen gadgets. The possibilities are endless when it comes to customizing your storage system.”
Customizing your pegboard can add a personal touch or boost its functionality. With some creativity and basic tools, you can turn your pegboard into a unique and efficient organization solutions for your home or workspace.
Creative Hook Solutions and Accessories
Standard pegboard hooks are a good start for organizing tools or craft room essentials. But, specialized hangers and accessories can make your system even better. Look into the many options to optimize your space and keep things tidy.
Standard vs. Custom Hook Options
Basic pegboard hooks are easy to find and affordable. But, you can also make custom hooks with items from the hardware store. This way, you can fit unique tool shapes and sizes perfectly.
Organizing Tools and Equipment
Pegboard accessories, like PVC pipe sections, are great for storing long tools. You can also use circular saw shelves, cordless drill holders, and wire baskets. These help keep your tool organization in check.
Specialty Holders and Brackets
Check out the many specialty holders and brackets for pegboards. There are magnetic tool racks and power tool hooks with soft contact coating. These meet the varied needs of your craft room essentials. They help use your wall space well and keep tools easy to find.
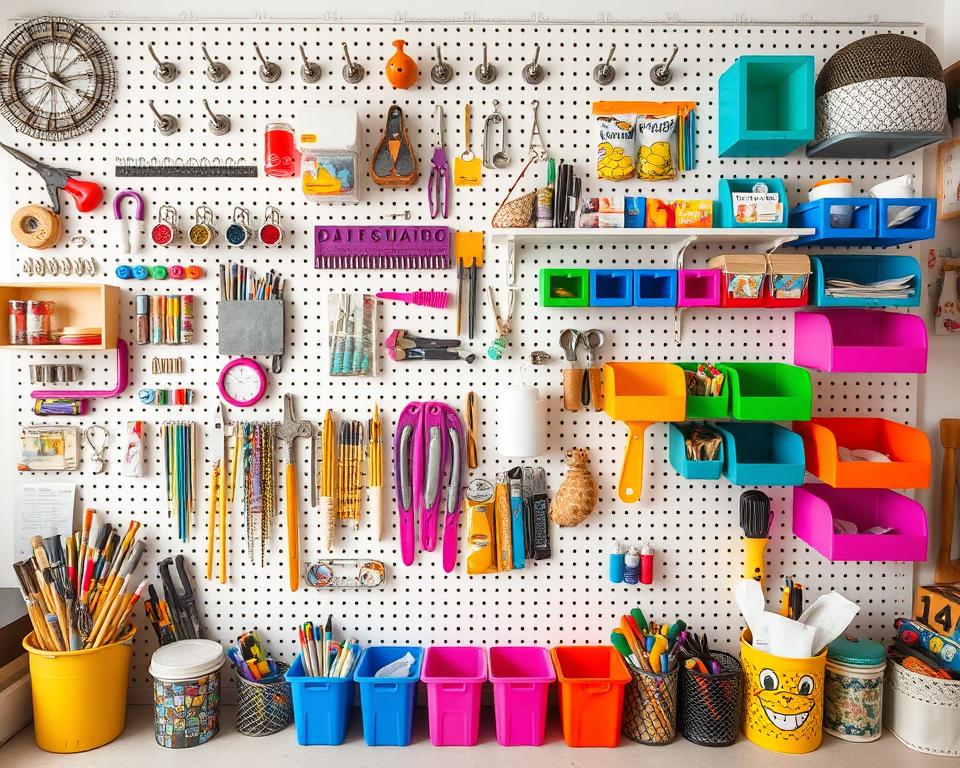
“The variety of hooks and the non-scratching nature of the plastic material make this pegboard system a fantastic choice for my workshop. I was able to install it in under an hour and now have a custom storage solution that fits my needs perfectly.”
Space-Saving Design Ideas for Different Rooms
Pegboards are great for storing things in different rooms. They help make the most of space in your kitchen, laundry room, bathroom, or garage. These boards are perfect for organizing your belongings.
In the kitchen, you can put a pegboard on cabinet doors. It’s great for spices, seasonings, or cooking tools. You can also make custom cubbyholes with PVC pipes for more storage.
For the garage, metal pegboard strips are perfect for hanging tools like rakes and shovels. Sliding shelves are also useful for flexible storage in small spaces. You can change the layout as you need.
Pegboards can also be used in the laundry room or bathroom. They’re great for keeping cleaning supplies, toiletries, or towels organized. This makes your home look better and work better.
Using space-saving hacks and organization solutions like pegboards can change your home. It turns unused areas into useful and nice-looking storage spots.
Maintenance and Hook Security Solutions
Keeping your diy wall hooks and pegboard system in good shape is key. It helps them work well for a long time and stops hooks from falling off. A few easy steps can keep your tool storage safe and dependable.
Preventing Hook Displacement
To stop your hooks from falling, try these methods:
- Use zip ties or locking pegboard hooks to keep them in place.
- Put a small amount of hot glue on the hook’s lower leg for a stronger hold.
- Check the pegboard’s screws often and tighten them to keep it tight to the wall.
Long-term Care Tips
Looking after your diy wall hooks and pegboard well keeps them looking great and working well. Here’s how:
- Wipe the pegboard with a damp cloth and mild soap to clean it.
- Reorganize your tools and equipment now and then. This makes the most used items easy to find.
- Look at the pegboard’s screws and fix them if they’re loose to keep it steady.
By following these simple steps, your diy wall hooks and pegboard will last for many years. They’ll keep your tools organized and within reach.
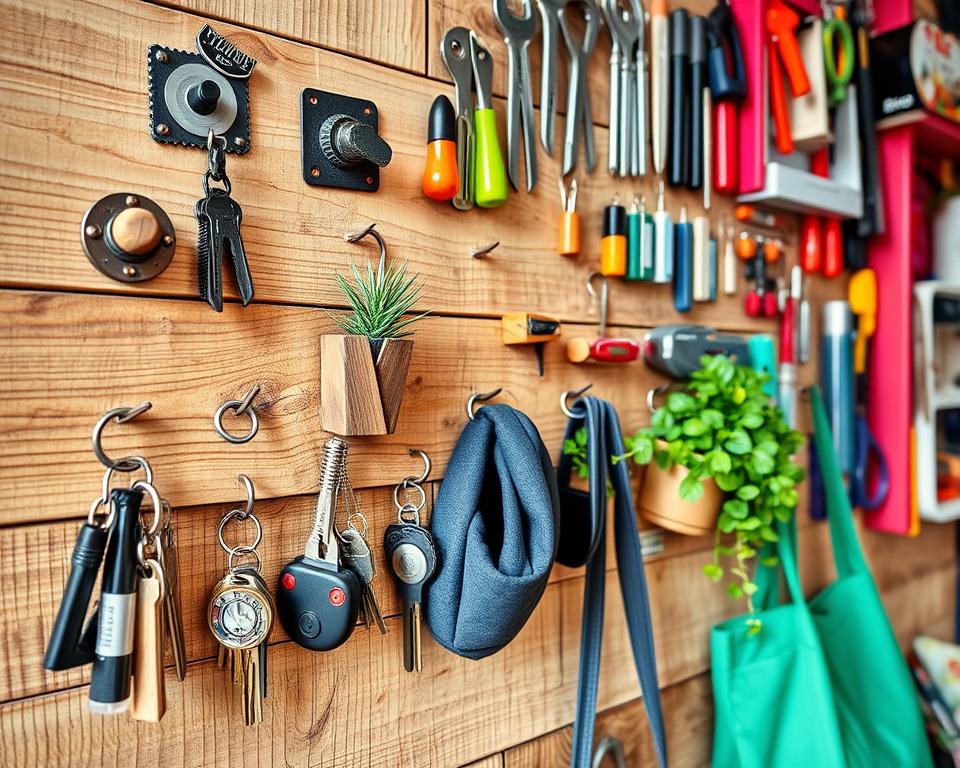
Advanced Pegboard Storage Hacks
Pegboards are a versatile storage solution that can help you organize your space and keep everything in its place. From kitchen tools to craft supplies to garage equipment, pegboards can be used in a variety of ways to maximize your storage space. In this blog post, we will explore some advanced pegboard storage hacks that will help you take your organization to the next level.
1. Utilize Different Types of Hooks
When it comes to pegboard storage, there is a wide variety of hooks available to help you customize your space to fit your specific needs. From traditional metal hooks to specialized hooks for holding specific items like scissors or tape, using a variety of hook types can help you make the most of your pegboard storage.
2. Add Shelving
While hooks are great for hanging items on the pegboard, adding shelves can provide additional storage space for items that may not hang well on hooks. Consider adding small shelves for jars or containers, or larger shelves for heavier items like tools or paint cans.
3. Use Magnetic Accessories
In addition to hooks and shelves, consider adding magnetic accessories to your pegboard storage setup. Magnetic containers can hold small items like screws or nails, while magnetic tool holders can keep your tools easily accessible and neatly organized.
4. Create Zones
To make the most of your pegboard storage, consider creating zones for different types of items. For example, designate a section of your pegboard for gardening tools, another section for kitchen utensils, and another section for craft supplies. By creating zones, you can keep like items together and easily find what you need.
5. Maximize Vertical Space
Finally, don’t forget to maximize vertical space when setting up your pegboard storage. Consider stacking shelves or adding hooks at varying heights to make the most of your wall space and ensure that every inch of your pegboard is being used efficiently.
Take your pegboard organization to the next level with these innovative space-saving hacks. Create a custom pegboard frame with a groove to mount it inside cabinet doors. This maximizes unused vertical space. Use binder clips on your hooks to hold items that can’t hang directly, like small containers or tools.
Combine your pegboard with other storage solutions, such as magnetic strips. This keeps metal tools and accessories within easy reach.
Experiment with different pegboard materials to suit your specific needs. Opt for a sleek metal pegboard in the garage for a modern, industrial look. Or choose a durable plastic version for high-moisture areas like the laundry room.
For the ultimate in flexibility, consider building a movable pegboard system on casters. This can be wheeled around your workshop or garage as needed.
With a little creativity, your pegboard can become the centerpiece of your garage storage ideas. It transforms disorganized spaces into streamlined, functional areas. Embrace these advanced pegboard hacks to maximize every inch of your available wall space. Enjoy a clutter-free, organized environment.
By implementing these advanced pegboard storage hacks, you can take your organization to the next level and create a space that is not only functional but also visually appealing. Whether you’re looking to organize your garage, kitchen, or craft room, pegboard storage can help you make the most of your space and keep everything in its place.
Source Links
- Peg Board Organization Project – https://www.instructables.com/Peg-Board-Organization-Project/
- How to Build a DIY Pegboard Wall – Angela Marie Made – https://angelamariemade.com/diy-pegboard-wall/
- How to Organize Tools on a Pegboard – https://www.homedepot.com/c/ai/how-to-organize-tools-on-a-pegboard/9ba683603be9fa5395fab901725eb974
- Ultimate Pegboard Organization Guide for Craft Rooms – https://jennifermaker.com/ultimate-pegboard-organization-guide-craft-rooms/
- DIY Pegboard for sewing tool storage – ISeeStarsQuilting – https://iseestarsquilting.com/how-to-diy-pegboard-for-sewing-tool-storage/
- DIY Pegboard Wall Organizer – https://www.instructables.com/DIY-Pegboard-Wall-Organizer/
- How to Build a Pegboard Wall – https://www.cleanandscentsible.com/build-pegboard-wall/
- How to Design a Pegboard Wall and Organize Your Kitchen Like Julia Child – https://www.epicurious.com/expert-advice/how-to-install-a-pegboard-wall-article
- HOW TO INSTALL PEGBOARD THE EASY WAY – https://paulabehrens.com/blog/16674/how-to-install-pegboard-the-easy-way
- How to Hang a Pegboard – https://www.homedepot.com/c/ah/how-to-hang-a-pegboard/9ba683603be9fa5395fab9015891736f
- Organizing the Garage with DIY Pegboard Storage Wall – https://www.thecreativityexchange.com/2014/01/diy-garage-pegboard-storage-wall-pegboard-possibilities.html
- How to Make a DIY Pegboard Organizer – https://thriftdiving.com/diy-pegboard-organizer/
- Plastic Pegboard Systems – Locking Peg Hooks | Wallpeg Store – https://wallpegstore.com/
- DIY Simple Pegboard – https://chucksforchancho.com/2020/05/22/diy-simple-pegboard/
- Wall Organizers, Pegboards & Accessories – https://www.ikea.com/us/en/cat/wall-storage-37900/
- DIY: Pretty Pegboard Storage Ideas That Will Make Staying Organized (and Tidying Up) a Breeze — Homeday Interiors – https://www.homedayinteriors.com/blog/diy-pretty-pegboard-storage-ideas-that-will-make-staying-organzied-and-tidying-up-a-breeze
- Organize Anything with Pegboard: 14 Ideas and Tips – https://www.familyhandyman.com/list/organize-anything-with-pegboard-ideas-and-tips/?srsltid=AfmBOoqcP1zBJD0cbSTeMQBb-OafRuvFTMr2koDq2_DQ7CPc-D5N3tCN
- Adhesive Wall Hooks – https://www.pinterest.com/ideas/adhesive-wall-hooks/948013497243/
- Coat Racks to Declutter Your Entryway – https://www.nytimes.com/wirecutter/reviews/coat-racks-to-declutter-your-entryway/
- Pegboard Organizer – https://www.cravingsomecreativity.com/how-to-build-your-own-pegboard-office-supply-organizer/
- 10 Pegboard Ideas for the Creative Organizer – https://www.kehardware.com/blog/10-pegboard-ideas-for-the-creative-organizer/

